Controlling LC-A+ Exposure with Ease
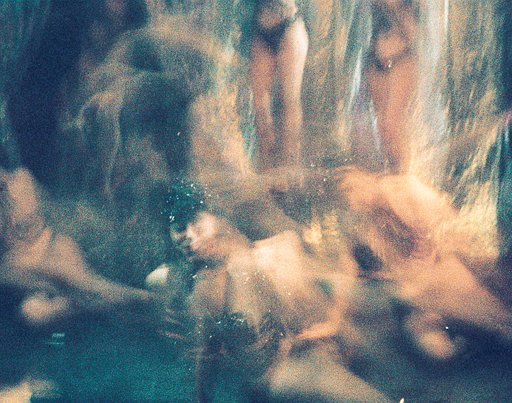
2 65 Share TweetWhen using LC-A+ in a backlighting situation, the main subject will be underexposed and all you get is a dark silhouette. When shot at night or in low light conditions, the results are overexposed and blurry. I believe many folks have similar experience. You can now improve things with a minor adjustment.

When shooting with LC-A+, we normally only worry about zone focusing and leave the complicated aperture and shutter speed settings to its accurate light meter. it is so convenient! We only need to adjust the exposure setting on rare occasions. Besides the distance, the only adjustable setting is the iso value.
Take a 400 ISO film for example; under normal circumstances, we will set the ISO value at 400. When subject is backlit and we don’t want a silhouette, we can set the ISO to 200 or 100. This means the LC-A+ will let in more light, resulting in a brighter image.

At night or in low light conditions, we can set the ISO to 800 or 1600, so that the LC-A+ will let in less light, increasing its shutter speed so that the image is not overexposed and the chances of hand shake are reduced.

There are more room for adjustments if you are using ISO 400 film. You can adjust 2 stops up or down. But remember to set it back to the original ISO setting when shooting under normal conditions. The same tip can also be used on the LC-Wide.
If you feel that this is too complicated, just remember: high ISO setting = image will be darkened; low iso setting = image will be brightened.
The Lomo LC-A+ is known worldwide for its amazing features: automatic exposure, extended ISO range, and multiple and long exposure capabilities. Get your own Lomo LC-A+ now!
écrit par ccwu le 2012-06-12 dans #équipement #tutoriels #camera #analogue-photography #tipster #camera-reviews #lomography #quickie-tipster #analogue-cameras


2 commentaires