Lomography Berlin Kino 400 Developing Guide
3 52 Share TweetWe love helping you capture your memories, tell a story and create timeless photographic masterpieces. That's why we’ve put together everything you need to get the most out of the Lomography Berlin Kino B&W Film ISO 400. From useful shooting tips to darkroom and post-processing advice, we’ve created the ultimate guide to shooting with this 35 mm monochrome wonder.

Shooting
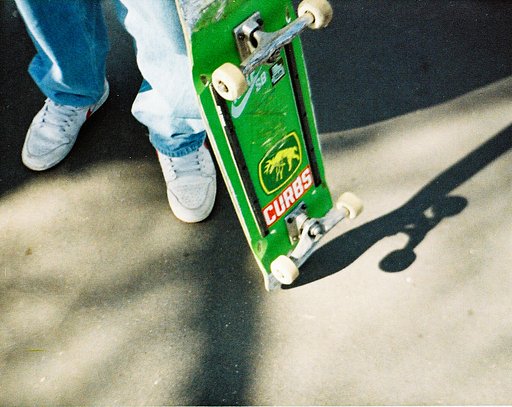
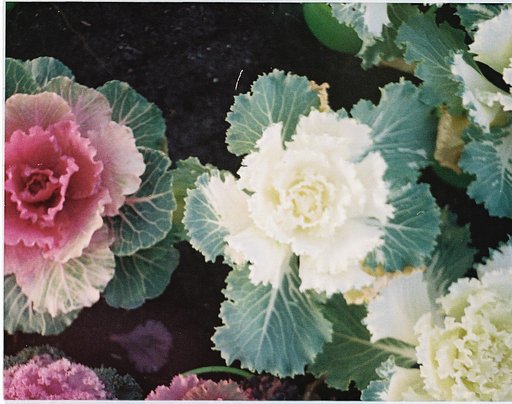
This evocative emulsion is panchromatic, which means it captures all wavelengths of light visible to the eye. This effectively allows you to tailor the film according to your photographic needs with the use of photographic filters. Depending on your scene, story or desired aesthetic, filters can be powerful creative tools in helping you achieve your artistic vision.


Limiting the range of colors allowed through the lens can add more contrast and drastically alter the look of a scene. To help you find the perfect filter, we’ve created a collection of test shots to showcase the results of shooting with a variety of filters.


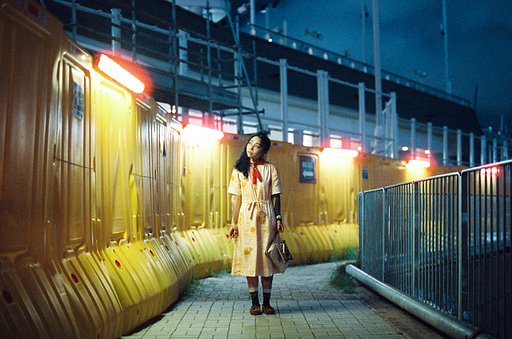
When the sun goes down, shooting after dark can become especially challenging without a flash or fast lens. Don’t worry, time doesn’t scare the Berlin Kino – just like the timeless German cine film that inspired it. Thanks to its wide dynamic latitude, the Berlin Kino can be pushed up to ISO 800, 1600 or 3200 while maintaining critical sharpness and contrast. Simply set your camera to your desired ISO and shoot away.


Developing
One of the many beautiful aspects of black and white photography is the endless creative freedom that comes with development. If you're going to hand your film over to the lab, we recommend getting it processed at ISO 400 (27°C). However, for even more flexibility and freedom to experiment, we invite you to develop at home.

We’ve made a list of the developers we think would be best at bringing your monochrome masterpieces to life. Each produces a slightly different result to help you craft a photograph in your own unique style. We recommend you follow the manufacturers’ instructions for preparation and agitation.
Kodak HC-110
Kodak HC-110 is one of our favorite developers for developing monochrome film. Aside from preserving details and possessing great tonal latitude, it also renders low contrast, great dynamic range and fine grain. This developer creates the analogue equivalent of a RAW file, allowing for the highest degree of creative freedom and making it particularly ideal for those who wish to post-process or enlarge their pictures.

Ilford Ilfosol-3
If you are prioritizing sharpness or high optical fidelity, we recommend using Ilford Ilfosol-3. This developer produces fine grain and excellent sharpness perfect for printing and enlarging applications, while also rendering good contrast and impressive shadow detail.

Kodak D-76 and Compard R09 (Rodinal)
Kodak D-76 and Compard R09 are two classic developers that yield great contrast and exquisite detail retention. They produce impressive results without any need for post-processing – it’s no wonder why they are considered to be the industry standard in power and liquid developers.


With the Berlin Kino, there is no need to stop shooting after dark. Its impressive tonal range allows you to easily perform push processing up to ISO 800, 1600 or 3200. No need to be intimidated – it maintains the details and a balanced tonal range, while also peppering your images in gorgeously analogue grain. These elements make it the perfect tool for even the most challenging nighttime scenes.
If you’re sending your negatives to the lab, don’t forget to disclose how many stops you have pushed your film. If you’re developing at home, here’s a simple guide to help you optimize it. We recommend using Tetenal Balancing Developer, a commonly available powder developer designed to allow push processing without significantly increasing grain.
- +1 Stop: 12 minutes at 22°C
- +2 Stops: 15 minutes at 22°C
- +3 Stops: 18 minutes at 22°C


A Darkroom Delight
Berlin Kino film is an homage to the days of smoky darkrooms strung with wet prints glowing in the red light. With its spectacular dynamic latitude, it’s great for creating high-quality prints.
This panchromatic film retains all the information you need to print your marvelous monochromatic feats. We made a few prints for ourselves and instantly fell in love – we hope that they inspire you to create your own! Feel free to choose from different filters to dramatically change the look of your enlargement, so you can create the perfect moody monochrome print. Check out our Magazine to learn more about setting up and using your darkroom.


Post-processing
But what about the digital darkroom? Well, the same rules apply too! When developed and scanned correctly, the Berlin Kino produces beautifully flat files, similar to D-log or RAW images as mentioned. This means that the image retains far more dynamic and tonal range than a traditional high-contrast negative. It preserves beautiful details in both the highlights and shadows in your image, giving you far greater control over exposure and other adjustments in your editing suite.


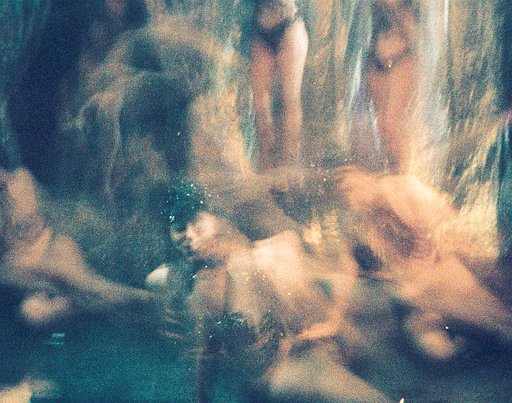
Photo by Khalil Kwok
To put it simply, this fantastic film soaks up scenes in their full detail. It’s a blank canvas waiting to become your next masterpiece.
We hope you enjoyed reading the Berlin Kino Cookbook! We can’t wait to see what you create with your own bundles of black and white brilliance. Upload your gorgeous grayscale photographs to LomoHome or share them on social media with #heylomography!
écrit par sameder le 2018-11-09 dans #équipement #tutoriels #film #developing #guide #darkroom #film-development #developing-times #berlin-kino


3 commentaires