Redscale your Kodak BW400CN!

13

It may seem like a weird idea to redscale black and white film (that’s not sensitive to color either way), but read on to learn why it’s something you should definitely give a try.

Credits: cornborn

Kodak BW400CN is a non-traditional black and white film for development in process C-41. Its back is, therefore and in difference to traditional b&w film, of an orange/brown tone.
My idea was to expose the film through its back, using it like a red or orange filter. To be able to do this, I reversed the film just like any other home-made redscales. If you have never done this, here is an excellent tipster on how to turn your ordinary film into redscale film.

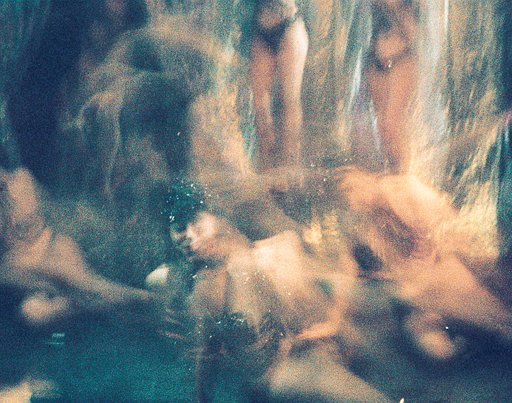
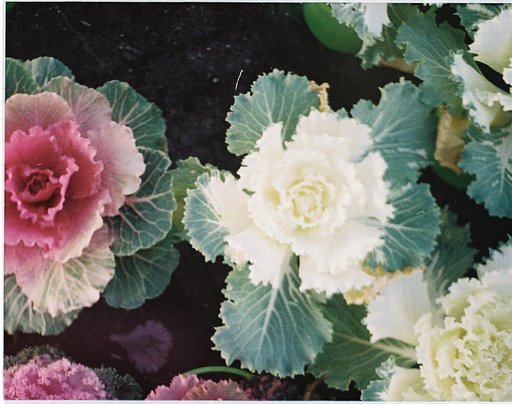
Obviously, even when redscaled, Kodak BW400CN will still only display shades of grey. As with any red or orange filter in b&w photography, it will benefit though: contrast is higher, especially when photographing skies. Here are some of the results I got:

Credits: cornborn

Please note that this tipster will not work for traditional black and white film! You’ll need film with a reddish/brownish back side. Also remember that when redscaled, any film will need more light. I recommend shooting reversed Kodak BW400CN at ISO 100-200.

écrit par cornborn le 2011-10-17 dans #équipement #tutoriels #film #redscale #experiment #tipster #kodak #home-made

13 commentaires

  1. meesterbrein
    meesterbrein ·

    Really going to try this!

  2. simonh82
    simonh82 ·

    Nice idea, but watch out @meesterbrein as i've heard that Kodak have changed the base colour to be a lot clearer more like Ilford XP2.

  3. dogtanian
    dogtanian ·

    Great idea and cool photo's! Thanks for the link to my tipster aswell lol :)

  4. superlighter
    superlighter ·

    cool tip

  5. meesterbrein
    meesterbrein ·

    @simonh82 Thanks for the tip, but I got some old expired, so I don't think that's a problem.

  6. flykiwii
    flykiwii ·

    Thanks for the idea! This is perfect.
    I love the higher contrast black and white photos.
    Never thought it would make a difference
    with (any)B&W films :D

  7. zindzee
    zindzee ·

    Great Tip! I will be trying this very soon!

  8. mikeydavies
    mikeydavies ·

    beautiful, gonna try with xp2!

  9. glenn
    glenn ·

    EXCELLENT

  10. ucinz
    ucinz ·

    BW Purple! :D

  11. mirako347
    mirako347 ·

    I have been interested in creating the in (purple) feeling! Thanks so much I think I'm going to try it on my cheap "Made in EU" film.

  12. cbbird1972
    cbbird1972 ·

    the link to the tipster has died(!) I'd really like to try this, could someone possibly publish a new tutorial please?

  13. cornborn
    cornborn ·

    Hi @CBBIRD1972, while I don’t remember what the original tipster covered and why I considered it excellent, there is a quick tutorial on making DIY redscale film here: www.lomography.fr/magazine/72839-redscale
    So you basically need a darkroom (for lack of a darkroom I would actually usually do it underneath a blanket in a dark room) where you pull the entire length of the film out of the canister. Then you cut the film close to the canister, BUT importantly you need to leave a bit sticking out at the end. The link above illustrates this. You then flip the film you just cut so that it ends up “inside out” and you tape it to the bit you left sticking out. Then comes the most tedious part which is winding the film back into the canister. You are going to do this by twisting the spool at the top. Make sure to stop winding before you reach the end - like before, at least an inch should be sticking out. You can then bring everything to the light and cut the end that sticks out of the canister into a shape that is similar to what the end of 35mm film usually looks like. This is important for loading the film into your camera. Done!
    If you have more questions you can send me a DM. Have fun and remember to generously over-expose when shooting redscale film!

Les articles les plus captivants