5 Ways to Play with Bokeh
35 Share TweetIf you’re already familiar with bokeh and would like to use it to make your photos more eye-catching, I’ve put together a handful of tips you can try to play around with bokeh.

For those who are new to the term, bokeh refers to the blurry or unfocused portion of an image, and even the “aesthetic quality” of the blur. Bokeh is a result of the shallow depth of field brought by bigger apertures (smaller f/numbers on your SLR’s lens). Put simply, you will get/see bokeh as circular or polygonal shapes in the out of focus areas of your photograph, especially if there are light sources in the background.
Since this tipster aims to help you get creative and play with bokeh, you may want to acquaint yourself with the term and take a look at some examples. I suggest reading through this post by Ken Rockwell to help you grasp bokeh basics.
While it’s a matter of taste and preference, photographers say that the bokeh should ideally be perfectly smooth (good bokeh), and shouldn’t have distinct edges or even form rings. Some round or shaped bokehs are acceptable as “highlight” bokehs, but should should not distract the viewer from the subject; otherwise, it becomes bad bokeh.
So, here comes the part where I hope to help you make those bokehs work to your advantage for more interesting photos. So, get your SLR camera, set the lens to the smallest f/number, and start reading:


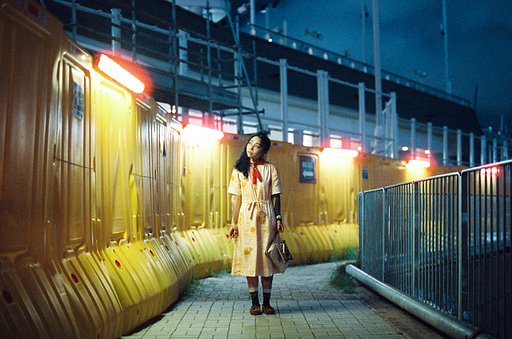
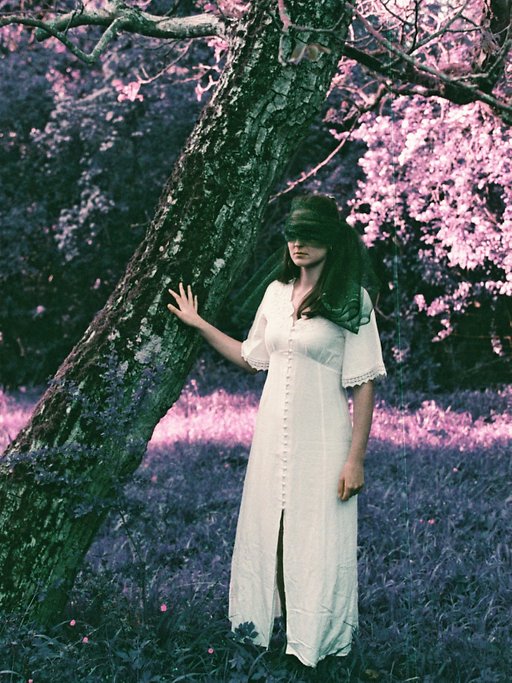
1. Use them as backgrounds for beautiful portraits.
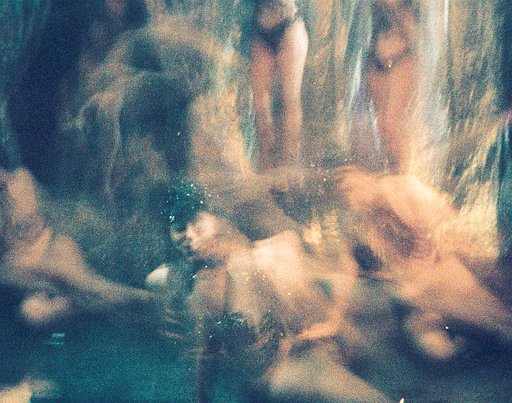
I had to put that first because it’s the most common use for bokeh, and it’s also the simplest. The rule of thumb here is to avoid overpowering your subject with bokeh backgrounds — do not distract your viewer! That said, you can see in the selection of portraits above that the bokehs can either be smooth and subtle or noticeable and strong, but notice how they don’t steal the limelight from the subjects!


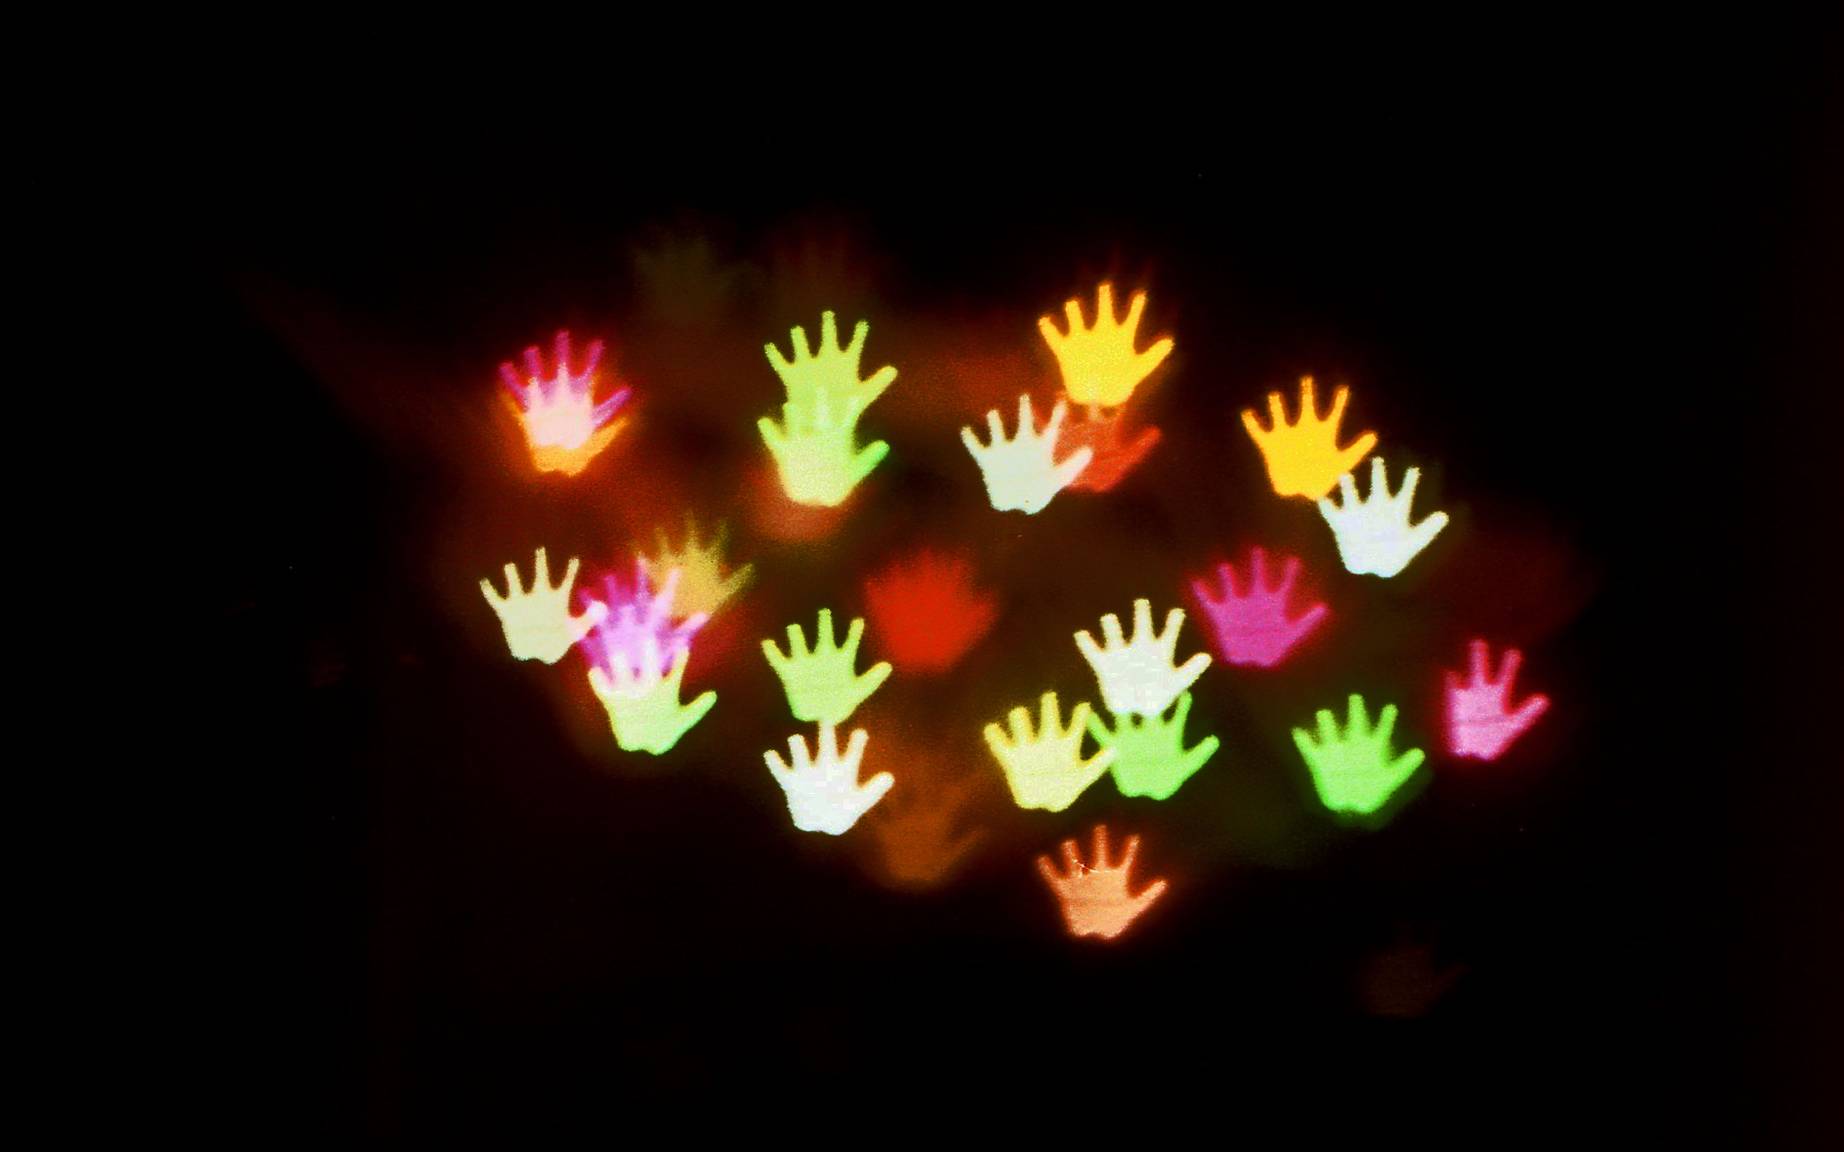
2. Create “shaped” bokehs.
Yes, you can make your bokehs take any shape that you want with the help of “bokeh kits” whether a ready-made set that you purchase (like the Bokeh Masters Kit that I tried) or those that you made yourself (like the DIY filters made by blueskyandhardrock). The concept involves putting a cardboard or hard plastic mask with a small cut-out shape in the middle over your lens, and the bokeh of your snaps will take the shape of the cut-out! There are many interesting possibilities for this trick, as you can see in the samples above!


3. Use them in double-exposures or even multiple-exposures.
I have found that some of our fellow lomographers here have tried incorporating bokeh with their doubles, with great results! Use bokeh for doubles as you would use textures — shoot them first, one stop lower. Feel free to experiment; for a start, shoot bokehs first with your SLR camera then load the film in another camera!

4. Make them part of the whole composition (as opposed to just putting them in the background).
Aside from making your bokehs complement the foreground/subject of your photos, you also try more creative techniques with them. In the example above, the photo is composed in such a way that the bokehs are part of the whole picture: bokeh “droplets” pouring into a cup! Try positioning your foreground against light sources like cafe lights, christmas lights, city lights and use the bokeh to create a similar effect — “droplets” falling on an umbrella, bokeh “fairies” coming out of the box, and bokeh floating up from a steaming cup of coffee, just to throw in a few suggestions!


5. Take bokeh fireworks photos.
Last but not the least, try shooting fireworks in a different way — turn them into bokeh showers! Just set your aperture at its widest, defocus your frame a bit, and point your camera towards the fireworks. Once you see that the bokehs are as pronounced as you want, snap away when the fireworks are spread out nicely against the sky. You should end up with a photo like the ones I took above!
Now, feel free to mix and match the tips above to your liking — be creative and keep trying/modifying these tips until you get the results that you want! Let me know how it goes and share your snaps with me!
écrit par plasticpopsicle le 2013-07-26 dans #équipement #tutoriels #tips #bokeh #tipster #lomography


Aucun commentaire